5 Essential Studio Upgrades (and Why Acoustic Foam Should Be One of Them)
Shaun Snaith
Upgrading your studio is about more than just new gear. To get the best recordings and mixes, you need to address every part of your signal chain—including the room itself.
The Top 5 Studio Upgrades
Audio Interface:
The bridge between your instruments/mics and your computer. Invest in a quality interface for clean, reliable recordings.
Microphones:
Different mics suit different sources—vocals, guitar, drums. Start with a versatile condenser, then expand as needed.
Studio Monitors:
Accurate monitors let you hear your mix as it truly is, not just how your headphones colour it.
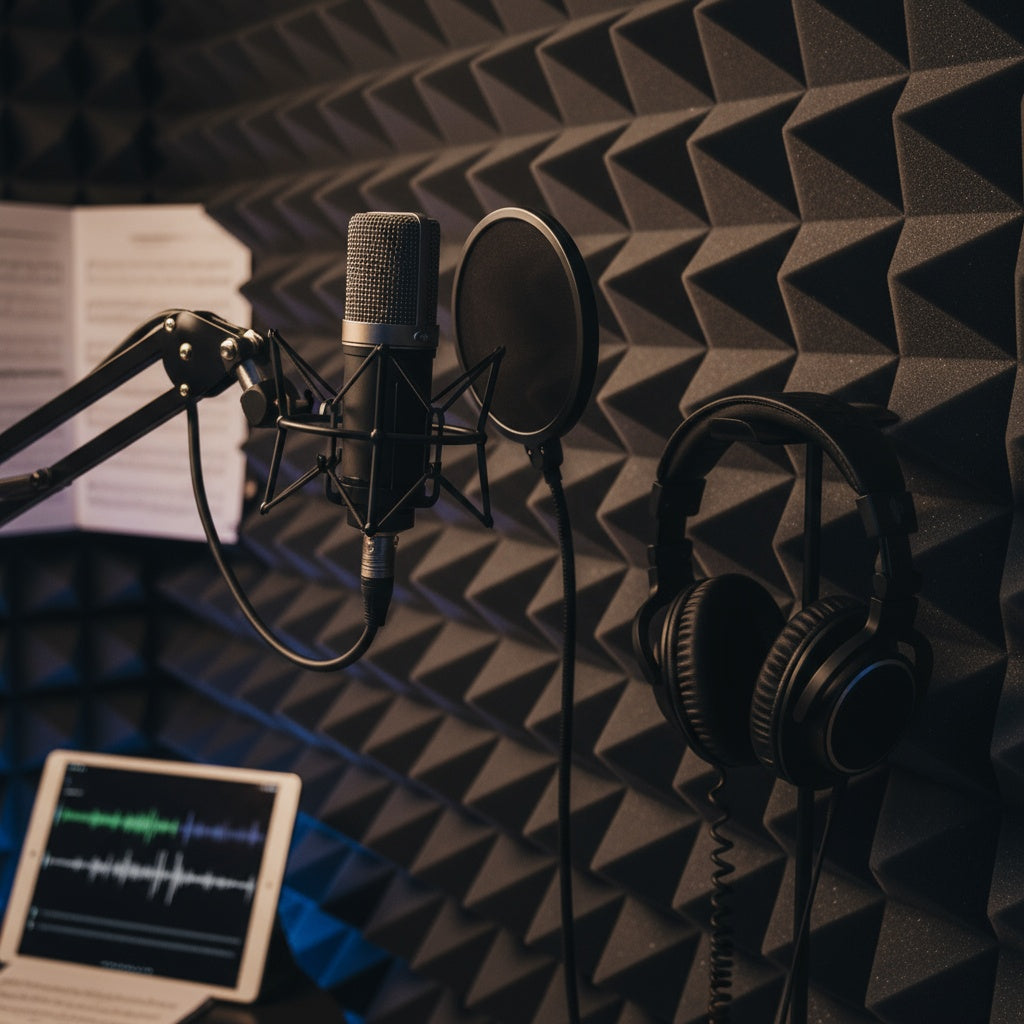
Acoustic Foam: The Secret Weapon
Here’s where most home studios fall short.
Why It Matters: Without acoustic treatment, sound bounces around the room, causing phase issues, comb filtering, and muddiness in your recordings and mixes.
How Foam Works: Acoustic foam tiles absorb mid and high frequencies, reducing echo and flutter. Bass traps absorb low frequencies, which tend to build up in corners and small spaces.
Where to Place Foam: Start with first reflection points—side walls, ceiling above your listening position, and behind your monitors. Add bass traps in all corners for maximum effect.
Choosing the Right Foam: Not all foam is created equal. Look for high-density, fire-rated foam (like our 30kg/m³, Crib 5-rated tiles) for effective absorption and peace of mind.
Pro Tip: Even a small investment in acoustic treatment can make your budget gear sound professional.
Cables & Accessories:
Don’t let cheap cables introduce hum or crackle. Quality accessories keep your setup reliable.
Want to hear the difference? Check out our best-selling acoustic foam tiles and bass traps—designed for UK studios and shipped fast.


