Why 
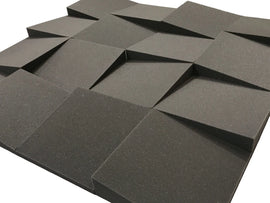
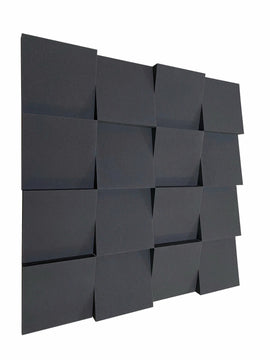
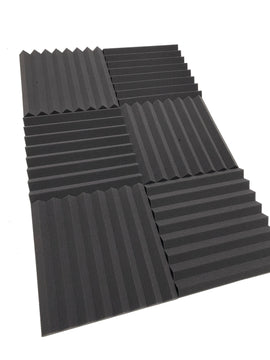
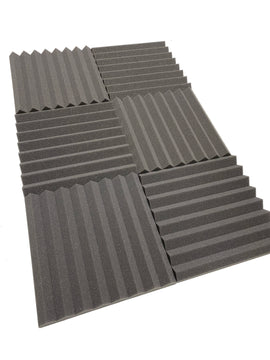
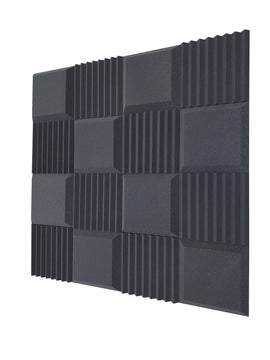
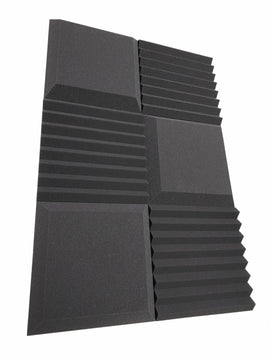
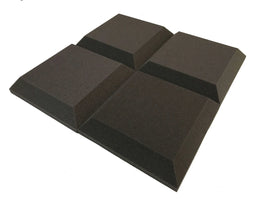
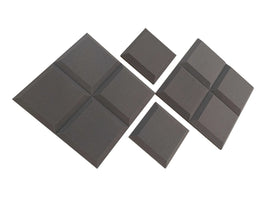
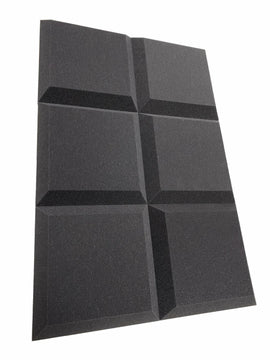
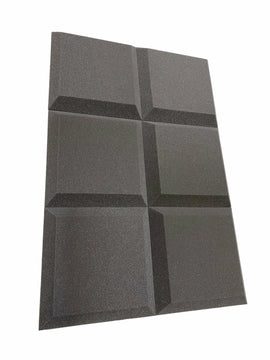
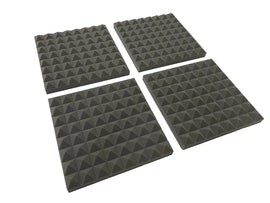
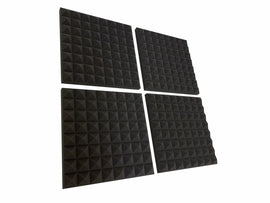
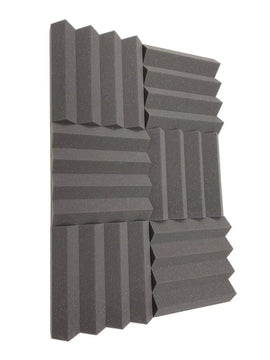
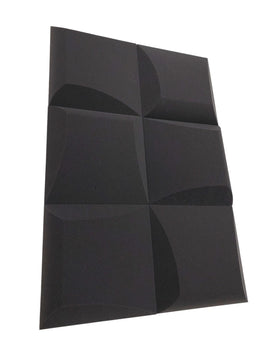
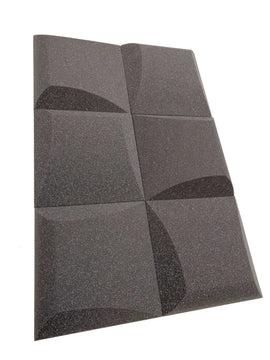
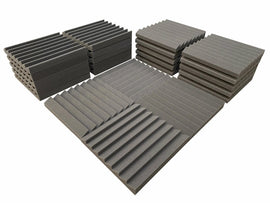
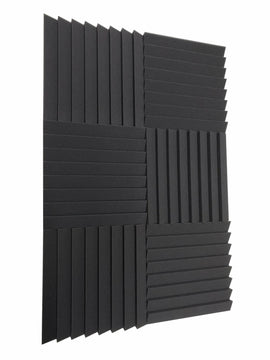
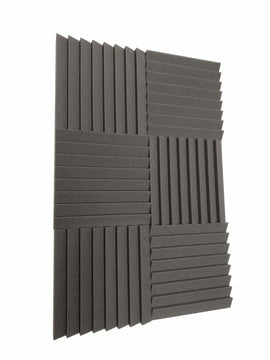
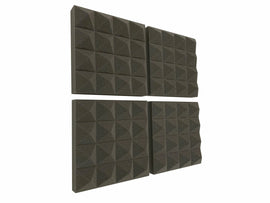
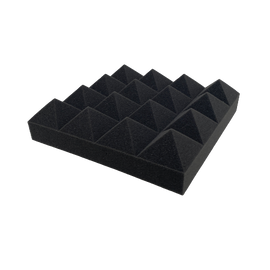
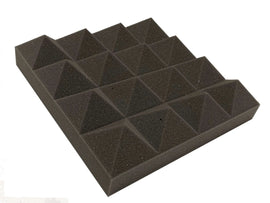
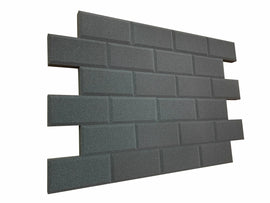
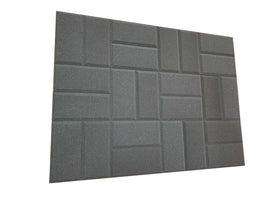
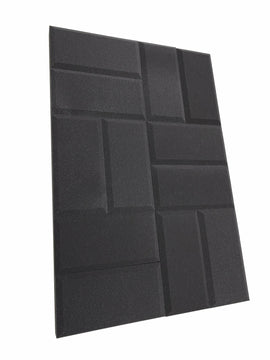
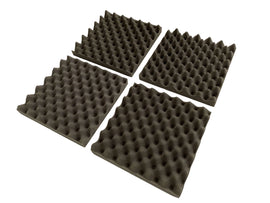
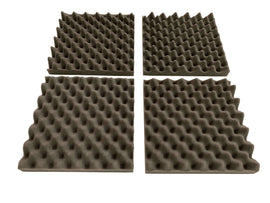
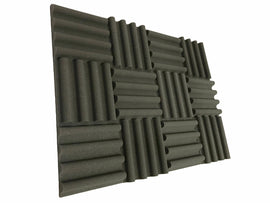
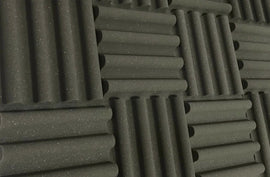
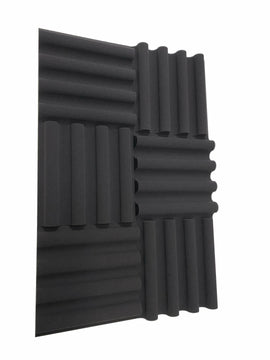
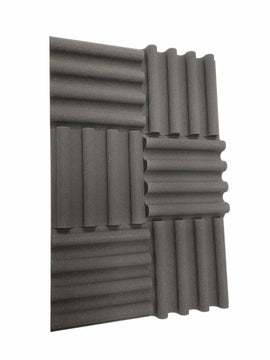
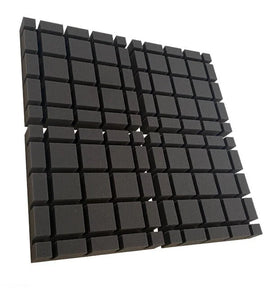
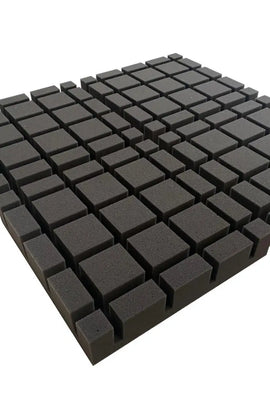
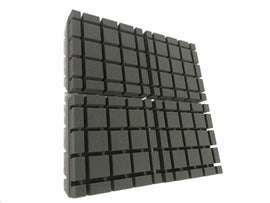
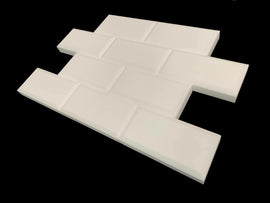
12" Acoustic Foam Tiles for Home & Podcast Studios?
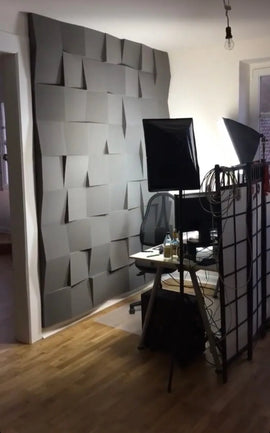
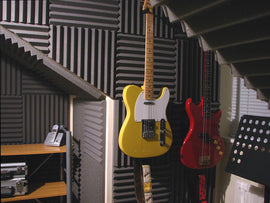
Clear voice capture starts with controlling echo and early reflections. Our 12" acoustic foam tiles are designed for spoken word and small-room studios—ideal for podcasting, voice‑over, and content creation at home. They help your mic hear your voice—not your room—so you spend less time fixing audio in post.
What These Tiles Do (and Don’t Do)
Acoustic tiles treat the room by absorbing reflections to reduce echo and flutter. They do not “soundproof” or block noise transfer through walls or floors. If you need to stop noise getting in or out, see our soundproofing solutions like the 5kg Soundproofing Mat
How Many Tiles Do I Need?
As a practical starting point for a 3 × 3 m room, use 70-100 tiles. Smaller spaces will require less. Highly reflective rooms may need more coverage. Aim for balanced treatment on opposing walls to avoid over‑deadening one side.
Recommended Placement for Clear Voice
- First reflection points left/right of your mic position
- Behind the mic/speaker and the wall opposite
- Partial ceiling coverage above the mic if the room is lively
- Keep symmetry where possible for a natural soundstage
Pairing with Bass Traps in Small Rooms
Low frequencies build up in corners. Adding 2–4 bass traps in vertical corners tightens dialogue and reduces boominess, especially helpful for close‑mic podcast setups. Explore our Bass Traps range
Materials, Fire Ratings, and Specs
- Independently tested acoustic performance (NRC)
- UK‑made foam in multiple profiles for flexible coverage
- Fire safety options: Class 0 and Class 1 (see product pages)
- Easy to install with suitable adhesives; tiles can be mixed across profiles
- Works with our 2 × 4 ft panels for faster area coverage
FAQs
Q: Do acoustic foam tiles soundproof a room?
A: No. Foam tiles reduce echo and early reflections (treatment) to improve clarity and reduce editing time. To block noise transfer through walls, floors, or ceilings, use a soundproofing system such as our 5kg Soundproofing Mat.
Q: How many 12" tiles do I need for a small podcast room?
A: For a typical 3 × 3 m room, start with 70–100 tiles placed on first reflection points, behind and slightly to the sides of the mic, and on the wall opposite the speaker. Add 2 bass traps to tighten low-end.
Q: Tiles vs 2 × 4 ft panels for podcasting?
A: Tiles are flexible and great for covering irregular spaces; 2 × 4 ft panels install faster with fewer seams. Many home studios use tiles for coverage and a few panels for key spots.
Q: Are these tiles suitable for home use and safe?
A: Yes. Options include Class 0 and Class 1 fire ratings—check each product’s specifications. Our tiles are UK‑made and independently tested for acoustic performance (NRC).
Q: Where should I place tiles first?
A: Start at first reflection points (to the left/right of the mic position), behind the mic/speaker, and the wall opposite. If the room is lively, treat a portion of the ceiling above the mic.
Q: Can I mix profiles or tile types?
A: Yes. Mixing profiles can help break up flutter echo and avoid over‑deadening. Keep coverage balanced across opposing walls.
Next Steps and Related Products