Secrets to the Perfect Rehearsal Room: Acoustic Treatments that Make a Difference
Shaun Snaith
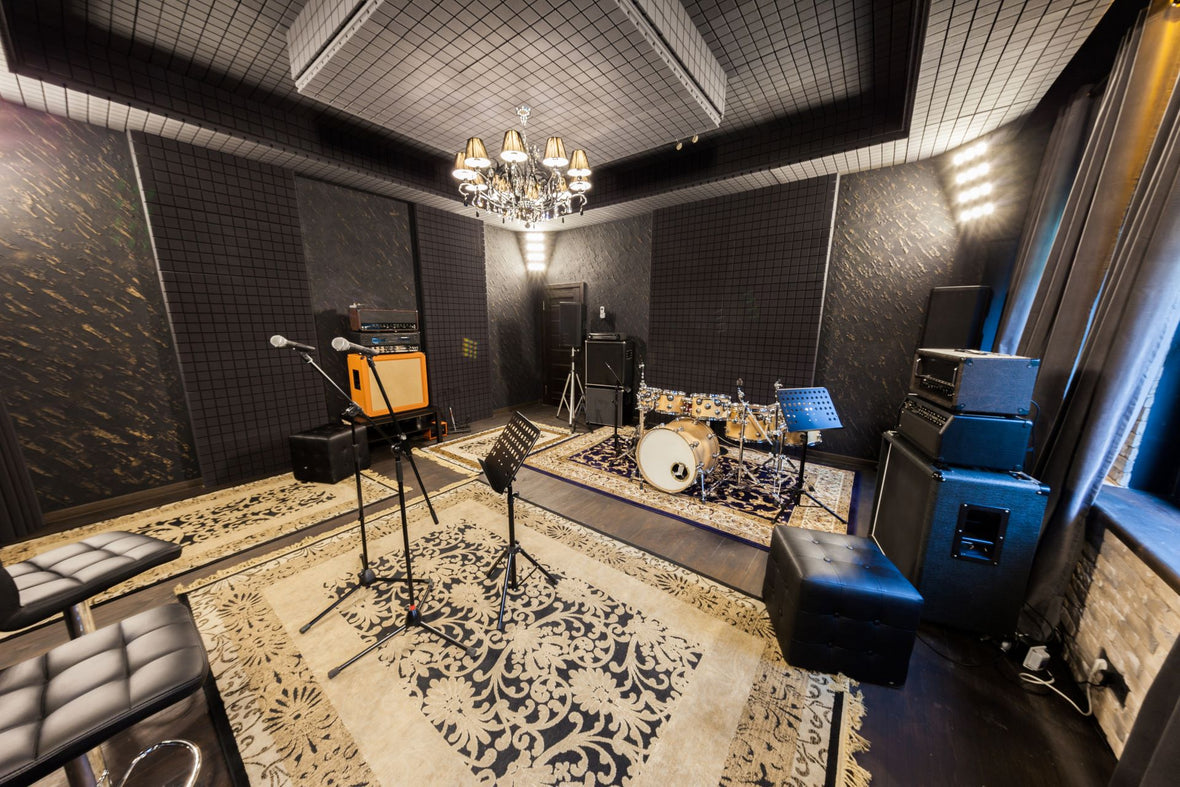
Creating the perfect rehearsal room requires more than just instruments and passion. The acoustics of the room play a crucial role in ensuring that every note and beat sounds clear and balanced.
Poor acoustics can lead to echoes, uneven sound distribution, and unwanted noise, all of which can hinder practice sessions and affect performance quality. By understanding the importance of acoustics and implementing effective treatments, you can enhance your rehearsal space to get the best sound possible.
Improving the acoustics in your rehearsal room is about achieving better sound quality and creating a more comfortable and enjoyable space for practice. With the right acoustic treatments and a little bit of effort, you can transform any room into a rehearsal haven.
On that note, let’s explore the various acoustic treatments available, how to install them effectively, and how to maintain them for long-term performance. Making these adjustments ensures that your rehearsal room sounds just as good as any professional studio.
Understanding Rehearsal Room Acoustics
The acoustics of a rehearsal room are critical for ensuring that sound is clear, balanced, and free from distortions. A well-treated room allows musicians to hear the true sound of their instruments and voices without interference from echoes, reverberations, or external noise. This is especially important during practice sessions, where clarity and precision are needed to identify and fix performance issues.
Common acoustic problems in rehearsal rooms include:
- Echoes: These occur when sound waves bounce off hard surfaces and create repeated reflections. Echoes can make it difficult to hear details in the music.
- Reverberation: Excessive reverberation happens when sound lingers in the room after the source has stopped, causing a muddled and indistinct sound.
- Sound Leakage: Unwanted sounds from outside the room can interfere with rehearsals. Sound leakage can also disturb others outside the rehearsal space.
- Dead Spots: Areas in the room where sound is quieter or less clear than in other parts. This uneven sound distribution can make it challenging to balance the overall mix.
Addressing these issues is essential to create an environment where musicians can hear themselves accurately and make meaningful adjustments during practice.
Essential Acoustic Treatments for Rehearsal Rooms
Implementing the right acoustic treatments can vastly improve the sound quality in your rehearsal room. Here are some necessary treatments:
1. Acoustic Panels: These panels absorb sound waves, reducing echoes and reverberation. They are usually made of foam or fibreglass and can be mounted on walls or ceilings.
2. Bass Traps: Designed to absorb low-frequency sound, bass traps are typically placed in the corners of the room where bass build-up is common. This helps to balance the overall sound spectrum.
3. Diffusers: These create a more even sound distribution by scattering sound waves across the room. Diffusers can help eliminate dead spots and improve clarity.
4. Rugs and Carpets: Placing rugs or carpets on the floor can reduce reflections from hard surfaces, improving the overall acoustic environment.
Each type of treatment offers specific benefits that contribute to a more detailed and accurate listening experience. Acoustic panels and bass traps control echoes and bass frequencies, respectively, while diffusers help spread sound waves evenly.
DIY Acoustic Treatment Installation Tips
Installing acoustic treatments in your rehearsal room can be a straightforward process with the right approach. Here’s a step-by-step guide to get you started:
1. Plan Your Layout: Before you begin, decide where each acoustic treatment will be placed. Sketch a rough layout of your room and mark the areas where sound issues are most prominent. This will help you position treatments effectively.
2. Prep the Surfaces: Clean the walls, corners, and other surfaces where you plan to install acoustic panels, bass traps, and diffusers. This ensures a strong bond and long-lasting installation.
3. Install Acoustic Panels: Use adhesive strips, mounting brackets, or hooks to fix acoustic panels on the walls. Place them at ear level around your primary listening positions to maximise sound absorption.
4. Set Up Bass Traps: Position bass traps in the corners of the room, where bass frequencies often accumulate. Secure them with corner brackets or adhesive as needed.
5. Place Diffusers: Mount diffusers on walls or ceilings to scatter sound waves evenly. Place them strategically to target areas where sound reflections cause problems.
For effective placement and maximum impact:
- Cover at least 20% of your wall space with acoustic panels.
- Distribute treatments evenly to avoid over-treating one area.
- Focus on primary reflection points, such as the walls directly facing speakers or instruments.
Maintaining Your Acoustic Treatments
Regular maintenance is crucial to ensure that your acoustic treatments remain effective over time. Here are some key practices:
1. Clean Regularly: Dust and vacuum acoustic panels and curtains to prevent dirt build-up. Use a soft brush or vacuum cleaner with a brush attachment to gently clean foam panels.
2. Inspect Mountings: Periodically check the adhesive, brackets, and hooks holding your acoustic treatments in place. Ensure they remain secure and reapply adhesive if necessary.
3. Monitor Wear and Tear: Acoustic materials can degrade over time, especially in high-use areas. Keep an eye out for signs of wear, such as sagging panels, torn curtains, or flattened foam.
4. Reposition as Needed: If you change the layout of your rehearsal room or add new equipment, adjust your acoustic treatments accordingly to maintain an optimal acoustic environment.
Signs you need to replace or upgrade treatments include:
- Deterioration of foam panels or bass traps.
- Reduced effectiveness in sound absorption or diffusion.
- Visible damage, such as tears, holes, or sagging materials.
Regular maintenance and timely replacements will keep your rehearsal room acoustically balanced and performing at its best.
Sound Quality Matters: Improve Your Rehearsal Space
Achieving the perfect rehearsal room is all about creating an environment where sound is clear, balanced, and free from unwanted echoes and noise. By understanding the basics of acoustics, implementing essential treatments, and following DIY installation tips, you can transform any space into an ideal rehearsal environment. Regular maintenance ensures your acoustic solutions remain effective, giving you a consistent and high-quality sound experience.
Ready to enhance your rehearsal room's acoustics? Visit Advanced Acoustics to explore our range of high-quality acoustic foam products and soundproofing materials. Let us help you create a rehearsal space that meets your needs and exceeds your expectations!

