The Complete Home Recording Studio Setup: Why Acoustic Treatment Matters
Shaun Snaith
Building your own home recording studio is exciting—choosing the right gear, setting up your workspace, and dreaming of the music you’ll create. But there’s one critical step most people overlook: the sound of the room itself.
Why Room Acoustics
Matter Even the best microphones or monitors can’t fix a room with poor acoustics. Hard surfaces reflect sound, causing echoes, muddiness, and inaccurate recordings. This is where acoustic treatment comes in.
What Is Acoustic Treatment?
Acoustic treatment means using specialized products—like foam tiles and bass traps—to absorb unwanted reflections, reduce echo, and control the sound environment in your studio.
How to Get Started
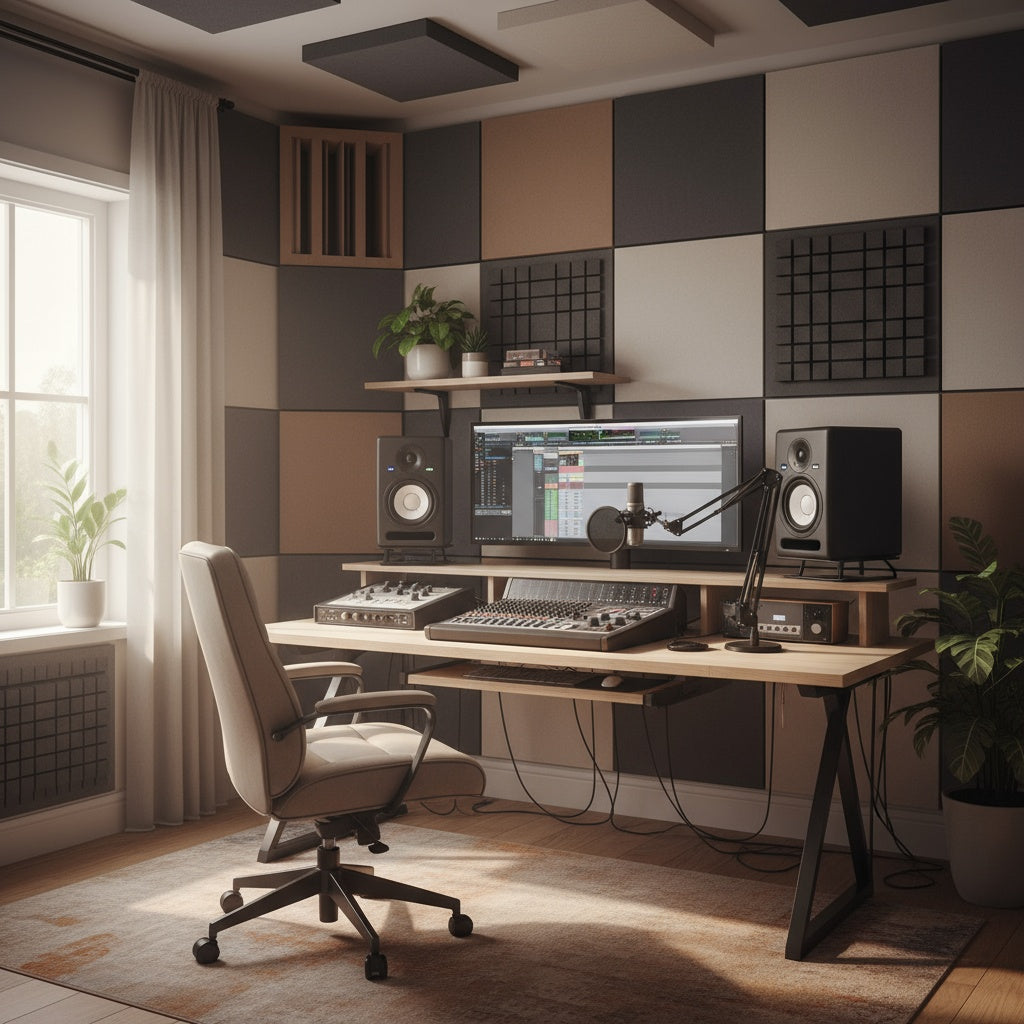
- Identify Reflection Points: Clap your hands and listen for echoes. These are your first targets for treatment.
- Install Foam Tiles: Place acoustic foam tiles at reflection points on walls and ceilings. This absorbs mid/high frequencies and tightens your sound.
- Add Bass Traps: Bass frequencies build up in corners. Placing bass traps there helps control low-end “boom.”
- Test & Adjust: Record and listen—move or add panels as needed.
Real-World Results
Our clients consistently report clearer vocals, tighter mixes, and a more professional sound after treating their rooms. Acoustic treatment is the single most effective upgrade for any studio—regardless of size or budget.


