Create an Ultra-Quiet Ceiling: Soundproofing Secrets
Shaun Snaith
Living with constant noise from above can be really annoying. Whether it's footsteps, loud music, or even conversations filtering through, ceiling noise can disrupt your peace. Thankfully, there are ways to create an ultra-quiet ceiling, making your home or office a lot more serene.
Soundproofing a ceiling involves using the right materials and techniques to block or absorb noise. By understanding how sound travels and using effective soundproofing solutions, you can significantly reduce unwanted noise. You don't need to be an expert to achieve this; you just need the right guidance and materials.
In this article, we’ll explore the different types of noise pollution and the basics of soundproofing. We'll also guide you through the materials needed and the step-by-step process to soundproof your ceiling. Finally, we'll provide some maintenance tips and solutions to common problems. Get ready to enjoy a quieter, more comfortable space!
Understanding Noise and Soundproofing
Types of Noise Pollution
Noise pollution comes in various forms and understanding them helps in choosing the right soundproofing method. The two main types are airborne noise and impact noise.
- Airborne Noise: This type includes sounds like talking, music, and television. These noises travel through the air and can easily pass through walls and ceilings if not properly insulated.
- Impact Noise: This includes footsteps, furniture moving, and other vibrations that pass through structures. It’s often more challenging to manage because it’s directly transmitted through the building materials.
By identifying the type of noise you’re dealing with, you can choose the best materials and techniques to effectively soundproof your ceiling.
Basics of Soundproofing
Soundproofing involves blocking or absorbing sound waves to prevent them from passing through barriers like walls and ceilings. There are several key principles to understand:
- Mass: Adding heavier materials blocks sound waves. Mass Loaded Vinyl (MLV) is an excellent example of a heavy material used to block noise.
- Damping: This reduces vibrations and dissipates sound energy. Damping materials are used between layers of plasterboard or plywood.
- Absorption: Soft materials like acoustic foam absorb sound waves, preventing them from bouncing around the room.
- Decoupling: Creating a separation between two sides of a wall or ceiling reduces the transmission of sound vibrations.
Combining these techniques can significantly reduce both airborne and impact noise, creating a quieter environment.
Materials Needed for Soundproofing a Ceiling
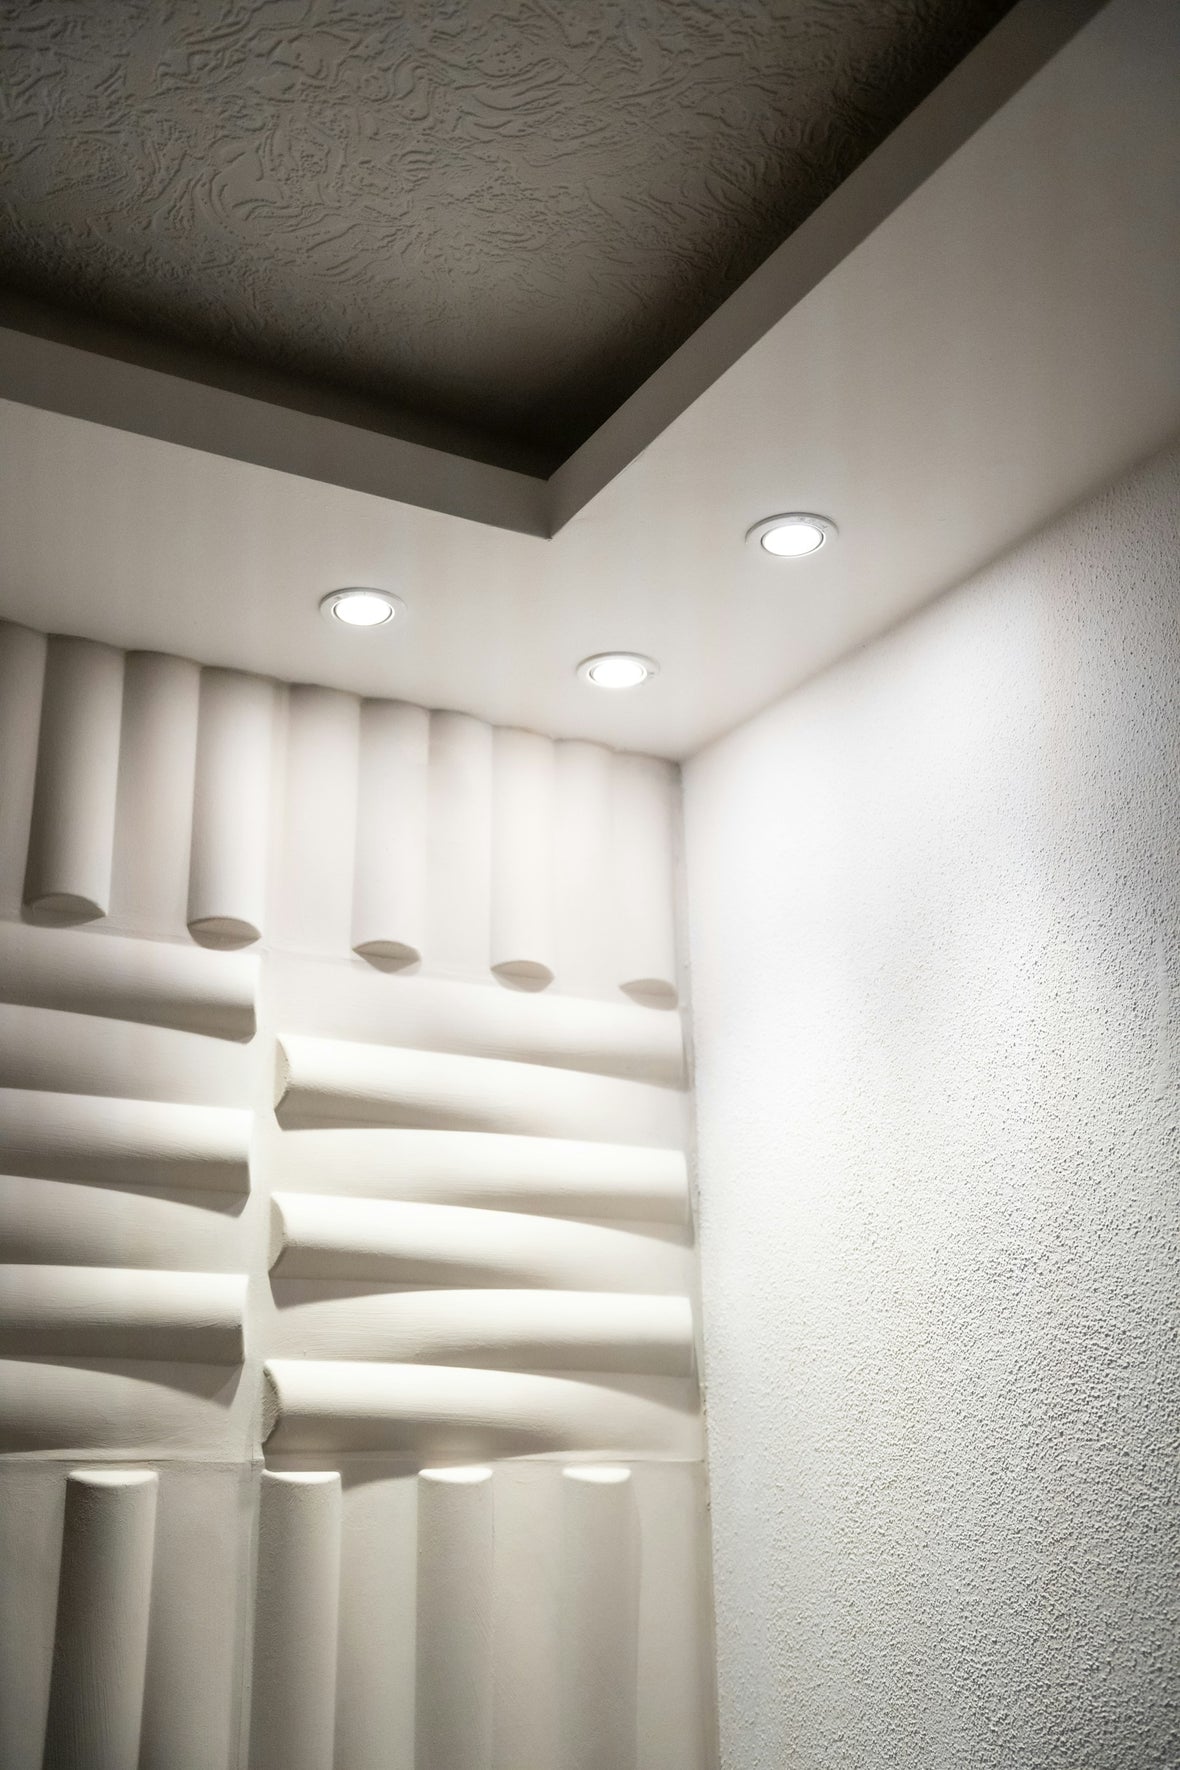
Acoustic Foam Panels
Acoustic foam panels are great for absorbing sound waves and reducing echo. They come in various shapes and sizes, commonly used to treat mid to high-frequency sounds. These panels are easy to install and can be attached directly to the ceiling.
- Benefits: Effective sound absorption, easy installation, and cost-effective.
- Placement: Can be placed directly on the ceiling or within a drop ceiling framework.
Mass Loaded Vinyl (MLV)
MLV is a dense, flexible material used to block sound transmission. It’s effective for blocking airborne noise due to its high mass.
- Benefits: Adds mass to the ceiling, easy to cut and fit, durable.
- Placement: Typically installed between the existing ceiling and new plasterboard or can be layered with other materials for enhanced soundproofing.
Soundproof Insulation
Soundproof insulation like fibreglass or mineral wool is used to fill cavities in ceilings and walls. It absorbs sound waves and reduces their ability to travel through the structure.
- Benefits: Excellent at reducing all types of noise, improves thermal insulation.
- Placement: Installed between ceiling joists before adding a new layer of plasterboard or other ceiling material.
These materials, when used together, provide comprehensive soundproofing for a ceiling. By combining acoustic foam panels, MLV, and soundproof insulation, you can achieve a significantly quieter space.
Step-by-Step Guide to Soundproofing Your Ceiling
Preparing the Ceiling Surface
Preparing your ceiling is crucial for effective soundproofing. Follow these steps to get started:
- Clear the Area: Remove any furniture and cover floors with drop cloths to protect them from dust and debris.
- Inspect the Ceiling: Check for any damage or gaps. Patch holes and fix cracks to ensure a smooth surface.
- Clean the Surface: Wipe the ceiling with a damp cloth to remove dust and dirt. A clean surface helps the materials adhere better.
Proper preparation ensures that the soundproofing materials will be effective and long-lasting.
Installing Insulation and MLV
Once the ceiling is prepared, you can start installing the acoustic foam panels and Mass Loaded Vinyl. Here’s a step-by-step guide:
- Install Insulation: Place soundproof insulation like fibreglass or mineral wool between the ceiling joists. Ensure it fits snugly. Use acoustic sealant to seal any gaps or cracks around the edges to prevent sound leaks.
- Add Plasterboard: Install plasterboard over the insulation material.
- Attach MLV: Apply adhesive or use nails to secure the MLV to the ceiling. Ensure it covers the entire surface.
- Add Another Layer of Plasterboard: Install a new layer of plasterboard over the MLV. Secure it with screws and seal the edges.
- Install Acoustic Foam: Place the acoustic foam panels over the plasterboard. Use adhesive strips or spray to attach them. Ensure they are firmly in place.
This combination of MLV and acoustic foam provides a double layer of soundproofing, blocking and absorbing noise effectively.
Maintenance Tips and Troubleshooting
Regular Checks and Upkeep
Keeping your soundproofing effective involves regular maintenance. Here are some tips:
- Inspect Regularly: Check the ceiling every few months for any loose panels or insulation.
- Clean Panels: Dust the acoustic foam panels with a soft brush or vacuum to keep them clean.
- Repair Promptly: Fix any damage immediately to maintain soundproofing integrity.
Regular upkeep ensures your soundproofing remains effective over time.
Common Issues and Solutions
Soundproofing can encounter problems. Here’s how to address common issues:
- Loose Panels: Reapply adhesive if panels start to come off.
- Gaps and Cracks: Use acoustic sealant to seal any new gaps that appear.
- Reduced Effectiveness: If you notice increased noise, recheck the insulation and add extra layers if needed.
By addressing these issues promptly, you can ensure your soundproofing remains effective.
Conclusion
Creating an ultra-quiet ceiling is a practical and achievable goal with the right approach. By understanding the basics of noise pollution and soundproofing, gathering the necessary materials, and following a detailed installation guide, you can significantly reduce unwanted noise. Maintaining your soundproofing setup ensures long-term effectiveness, bringing you lasting peace and quiet.
Ready to transform your space with a quieter ceiling? Contact Advanced Acoustics for high-quality soundproofing materials tailored to meet your needs. Start your journey to a quieter home or office today!


